

Pacific
Asia
Mexico & Baja
USA
Europe
Carribean
Hawaii
Space-A & Military Travel
Family & Worldschooling
Disney & Theme Parks
Resort Reviews
Content Creator
Outfits
Resort Wear
Kids
Packing
Skincare
Makeup
Hair
Exclusive Codes
Finishing Touches
Dress Code
Latest Finds
About
Contact
Military Discount Codes
Shop the Holiday Edit
What to Pack in a Day Hike Backpack: The System I Use Everywhere, From Moorea to Canyonlands


The Edit: This is my firsthand method for packing a day hike backpack, built as a former long-endurance cyclist who now hikes everywhere we travel. I carry a 35 liter Nanuk camera bag, pack the heaviest gear low near my core, and run 1.5 liters of water on short hikes and up to a gallon and a half on long desert days. Written for newer day hikers who want a real system, not a generic checklist.
At a Glance
| Detail | Information |
|---|---|
| Main day pack | 35 liter Nanuk camera bag, outfitted with survival and camera gear |
| Short-day pack | Kid’s Fjallraven Kanken No. 2 |
| Loading rule | Heaviest items low, close to your core |
| Lens storage | Nanuk N-CUBIK soft cases, in use since 2024 |
| Water, under 4 miles | 1.5 liters |
| Water, longer access by bus | 3 liters |
| Water, long remote day | 1 gallon in cooler months, up to 1.5 gallons in desert summer |
| Hydration style | Bottles, not bladders |
| Electrolytes | Nonnegotiable. Currently Salud. Also elete Electrolyte dropper, Liquid IV, Nuun |
| Always in the bag | Paracord, two multitools, light, first aid, Garmin inReach |
| First aid kit | Gauze, gloves, antibiotic ointment, moleskin, ibuprofen |
| Sun protection | Sunscreen, sunglasses, buff or hat |
| Situational adds | Rain jacket, extra wool socks, depending on forecast and terrain |
| Navigation and SOS | Garmin inReach |
| Footwear | Often sandals with socks |
| Best for | Newer day hikers who want a real, tested system |
| Trails tested | Japan, Malaysia, Indonesia, Australia, New Zealand, Mexico, Tahiti, Moorea, Bora Bora, North Shore Oahu, and across the US in Utah, Arizona, New Mexico, Washington, and California |

The Habit Started on a Bike
My packing method did not come from a gear catalog. It came from years of loading a bag by hand and carrying every ounce of it myself.
Loading a bag like a puzzle
I rode to college on a bicycle with a messenger bag packed like a puzzle. Textbooks, flight training gear, an E6B, my headset, an iPad, lunch and dinner, and a full repair kit with tire levers, tubes, patches, and a hand pump.
When every ounce rides on your own shoulders for miles, you learn fast what earns its place and what does not. That is the same instinct I carry to a trailhead now. Nothing loose, nothing wasted, everything where I can reach it.
From messenger bag to the trail
The bags changed as my life did. A Timbuk2 messenger from my bike years, then bigger bags, then a camera sling once I started shooting more. Somewhere in there I traded the saddle for the trail. Traveling full time with a bicycle is hard, so hiking became how I get the same adventure and endurance fix. Now I find a day hike almost everywhere we land.
Why I use what I have
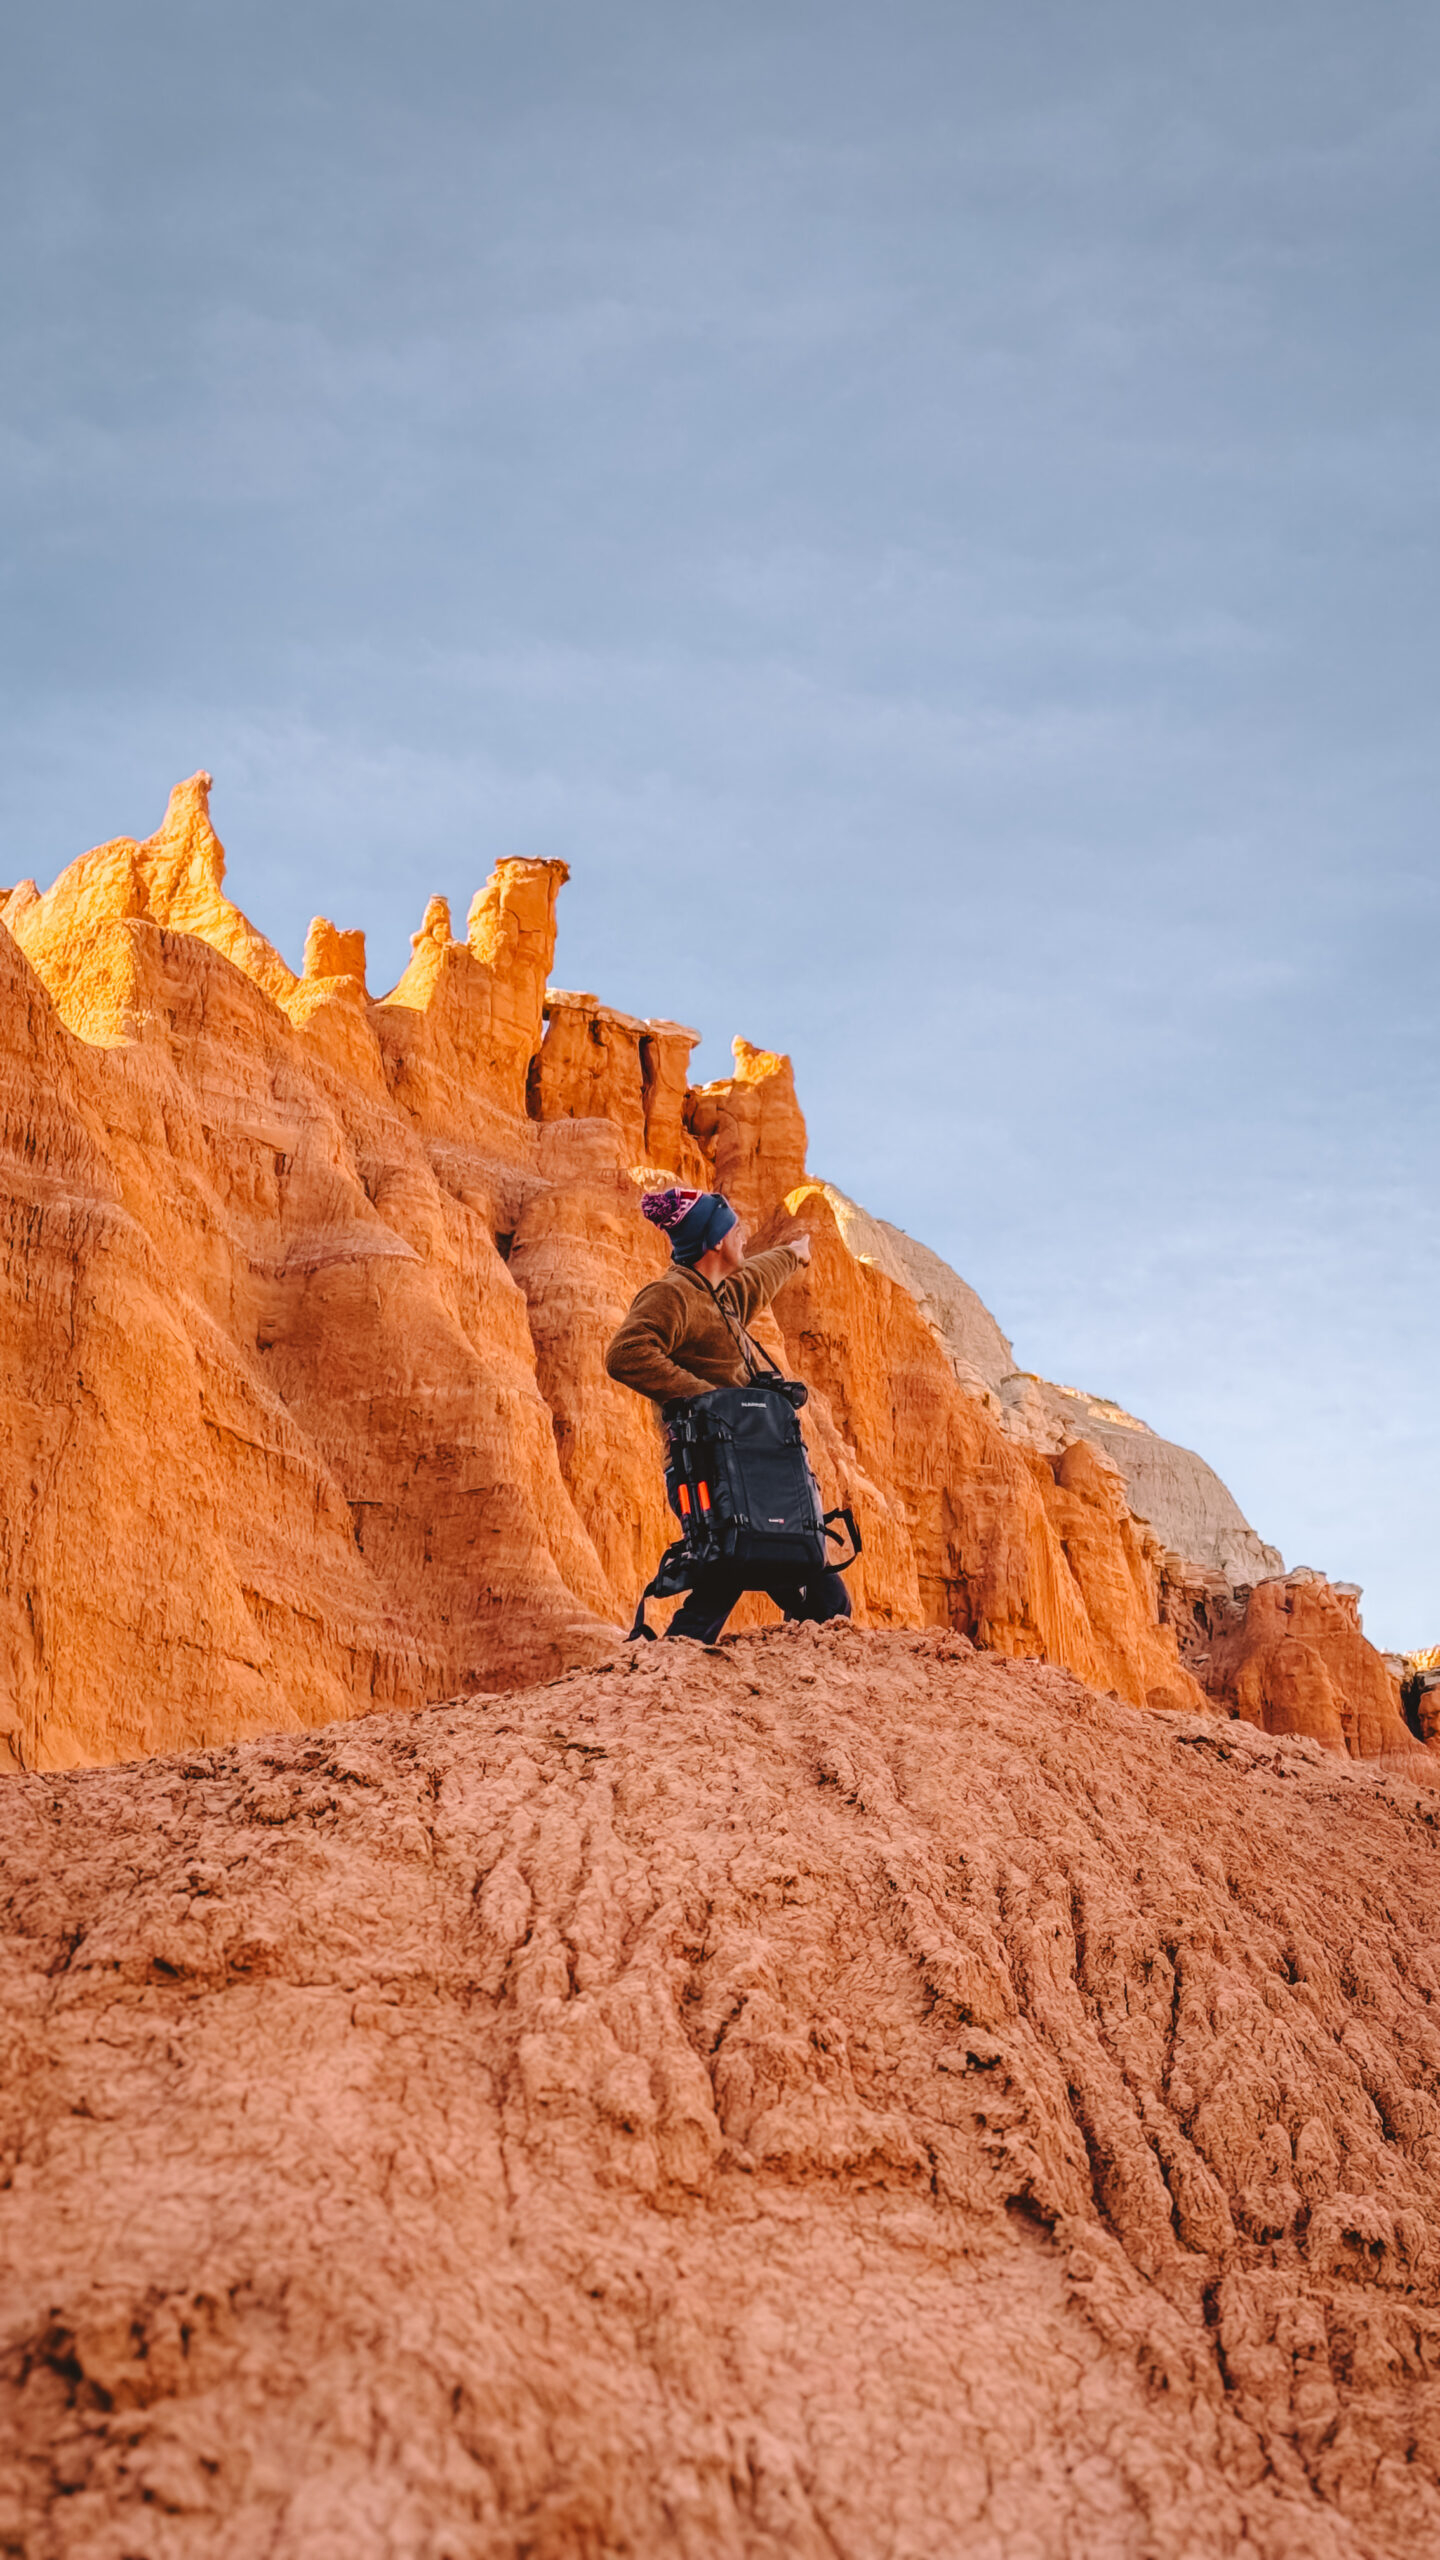
Here is my honest take. I do not own a dedicated hiking pack like an Osprey or a Patagonia. I use what I have on hand. Right now that is a 35 liter Nanuk camera bag that I outfit with survival and camera gear, plus one of my kid’s Fjallraven Kanken bags for short, minimal days. Nobody paid me to carry a specific brand. If a company wants to send me a real hiking pack to test, I am always up for it. Until then, the method matters more than the label.

The Pack I Grab and How I Load It
The Nanuk is an odd shape for a hiking bag. It is a large open cavity on the bottom and a big square pouch up top. That actually makes loading it a fun problem to solve.
Heaviest at the bottom, close to your core
I pack the heaviest items at the bottom of the pack. Low weight sits closest to your core, which keeps you balanced. Too much weight up high makes you swing and fight the load, and that is the last thing you want if you hit a bit of Class 3 or 4 scrambling or a short rope section. Keep the heavy stuff low and you move cleaner and tire slower.
Lenses, water, and the outside straps
My lenses ride in Nanuk N-CUBIK soft zip cases. They keep the glass from shifting but pull out fast when I want to shoot. I have run this setup since 2024 and I love it.
Water goes low too, in an insulated bottle like a Thermoflask or Hydro Flask, or strapped to the outside if I need the room. A lot of days I just carry my bottle in hand or slide it into my left back pocket. It is a bit of a hodgepodge, and that is fine.
Where the survival gear lives
The survival gear spreads out across the smaller zip pockets on the sides and in the top pouch. Splitting it up keeps any one pocket from getting heavy and lets me reach a lens without digging past the safety kit. Everything has a home, so I know where it is without looking.


Water, and Why I Stopped Using a Bladder
Water is the thing most people get wrong, and it is the thing I am most careful about.
Bottles over bladders
I own a CamelBak, but I do not reach for bladders anymore. They are nice, but they are hard to clean and keep clean, and they give you no insulation for hot or cold. A good insulated bottle keeps my water cool in the desert and does not turn into a science experiment between hikes.
How much I actually carry
For 4 miles and under I carry 1.5 liters on me, knowing more water waits in the car. If I am getting to the trail by bus or something similar, I bump it to 3 liters. On a long remote day I carry a full gallon in cooler months, and up to a gallon and a half in the desert in summer. Heat changes everything, so I plan the water first and pack around it.
Electrolytes are nonnegotiable
Plain water is not enough on a long day. A drink supplement is a nonnegotiable for me. Right now we use Salud, and I broke down why it beat out the others in my full Taste Salud review. I have also used Liquid IV and Nuun tablets, and one of my old favorites is elete Electrolyte in a small 4 ounce dropper bottle. The dropper is easy to pack and stash in a pocket, which is why it stuck with me from my cycling days.
New to day hiking and want to see where a pack like this earns its keep? Some of my favorite trails run the whole range, from an easy family cannon walk to a full ridge climb, in my guide to the free self-guided hikes in Bora Bora.
My Nonnegotiables
These come with me no matter the trail. Some are comfort, most are safety, and a few have gotten me out of real trouble.
Tools and cordage
I carry about 100 feet of paracord and two multitools. A Leatherman Fuse lives in my pocket and a knifeless Leatherman Rebar lives in the pack, with a file, a reamer, and pliers. I use those pliers to pull thorns out of my sandals more often than you would think, and to make small gear repairs on the fly.
A blade earns its place too. I use mine for cutting cordage, prepping tinder, small gear repairs, and trimming moleskin for a fellow hiker. It is also the tool you would reach for to build an emergency shelter if you ever got stuck out overnight.
Food, first aid, and the little stuff
I keep a few protein bars on me at all times. I carry toilet paper, which doubles as fire tinder or, well, toilet paper. My first aid kit is small, just gauze, gloves, and antibiotic ointment, plus moleskin. I also carry ibuprofen, enough for a few rounds over a long day.
Take it with real water and skip it if you are running low, because anti-inflammatories are hard on your kidneys when you are dehydrated. I have handed my moleskin to other hikers in real need on the trail. Sunscreen is a must, sunglasses are a nonnegotiable, and so is a buff or a hat. I usually bring a small towel too.
What changes with the day
Some things are situational, and that is the whole point of packing with judgment instead of a checklist. I will throw in a rain jacket if the sky looks like it has opinions, and an extra pair of wool socks when I expect wet ground or a long day on my feet.
Dry socks halfway through a hike can turn a miserable afternoon around. Neither one lives in the bag full time. They earn their spot based on the forecast and the trail.
Light and a way to call for help
Always carry a light. I once got stuck on a cliff while rappelling with no headlamp, and it made a hard situation so much worse. I also carry a Garmin inReach for GPS and SOS. Before I leave, I tell someone at home exactly where I am going and when to start worrying. I set a contingency out loud. If they do not hear from me by morning, they call search and rescue to come find me.
Lessons I Learned the Hard Way
You can read every checklist online and still get humbled on the trail. Here is what stuck with me.
Trust your own legs and gear
Never rely on someone else for your directions or your gear. Know your own abilities, and remember it is never too late to turn around and do it another day. The mountain will still be there.
Know the land and the season
I once got chased by an escaped zoo monkey in Okinawa, which taught me to give wildlife a wide berth and not assume anything is tame. Make noise, keep your distance, and carry a deterrent like a whistle or spray in areas that call for it. Learn when rut season is wherever you are hiking, because animals behave very differently when it is.
Check the weather before you go
Always look at the forecast before you leave. Flash floods and surprise snowstorms can catch you completely off guard. A basic read on the weather you are walking into can genuinely save your life, sometimes without you ever knowing it did.
Pack Light, Pack Smart, Go Anywhere
The gear is not the point. The habit is. Load the heavy stuff low, plan your water first, never skip the safety kit, and know your limits. Do that and the same small pack works whether you are on a red rock trail in Canyonlands or a green ridge in Moorea.
For real trails to put this system to work, see our guide to the best hikes in Canyonlands National Park, or head to the South Pacific with our free self-guided hikes in Bora Bora. More destination hike guides will link in here as the rest of the cluster goes live.


Curated by us, for you. We may earn a commission on pieces you shop through our links


The Vanity Case
Shop the edit
Just Landed
Shop the edit
Finishing Touches
Shop the edit
Leave a Reply


Have a brand story to tell? We'd love to hear what you have in mind.
And everywhere in between
Bora Bora to Baja


Be the first to comment